Building a Docker Environment Completely Offline on Windows 10(完全離線建置Docker環境)
Building a Docker Environment Completely Offline on Windows OS

作者近期需要在一個Windwos 10且完全沒有連過網路的系統建置Docker環境
找遍各大論壇,也詢問了ChatGPT大神,但最終都失敗收場
因此決定親自手動部屬一個完全離線的Docker環境!!
Deployed System Environment
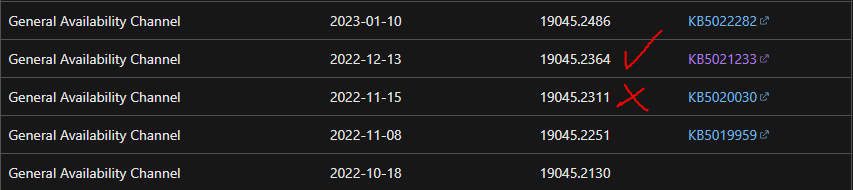
OS: Windows 10 (19045.2364, KB5021233 up)
Internet: Fully Offline (Can only be built through package installation.)
Docker: Docker Desktop 4.27.2(137060)
WSL: 2.1.4 up (Manual installation)
To Using Windows Docker:
- No need to install Ubuntu (unnecessary).
- No need to use Hyper-V (deprecated in the new version).
- Using Linux Containers on Windows.
We only need to run Docker's Linux Containers on Windows.
If U Install WSL2, then Got "The request is not supported."
WSL2 Support Windows MSI Install Version:
Please follow the steps in order to avoid any potential sequence issues that may arise.
Five steps to become a docker man.
Recommend running the installation process with administrator privileges throughout.
Step 1:
Verify Windows Features in Control Panel
Docker has integrated WSL 2, so Hyper-V is no longer required. lol~
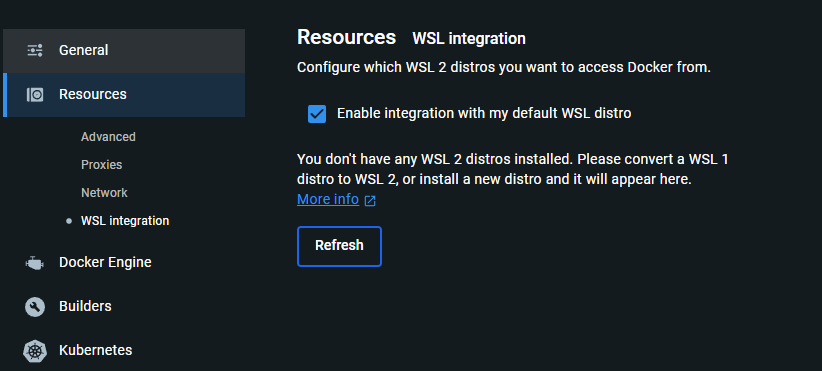
Enable "Virtual Machine Platform" and "Windows Subsystem for Linux" in Docker's New Version.
After enabling, please proceed with a direct reboot.
# Windows PowerShell
1.
Enable-WindowsOptionalFeature -Online -FeatureName VirtualMachinePlatform

2.
Enable-WindowsOptionalFeature -Online -FeatureName Microsoft-Windows-Subsystem-Linux

3.
Reboot PC

We Dont Need Hyper-V ~~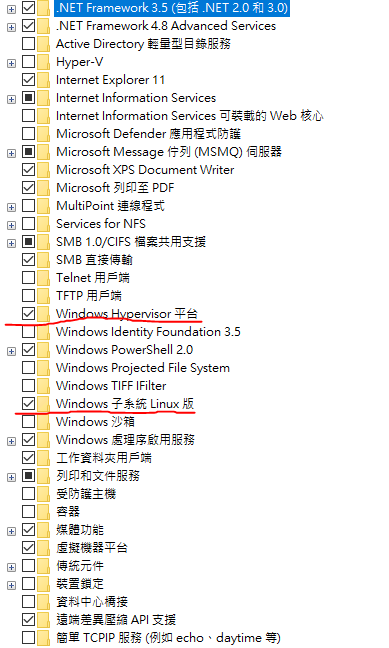
Step2: Package Installation Preparation
After enabling the "Microsoft-Windows-Subsystem-Linux" feature through Windows features, you'll receive an approximately 76MB-sized "Windows Subsystem for Linux."
This version may cause Docker's ability to build Linux to fail, resulting in Docker being unable to start.
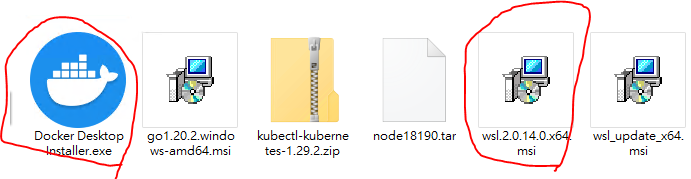
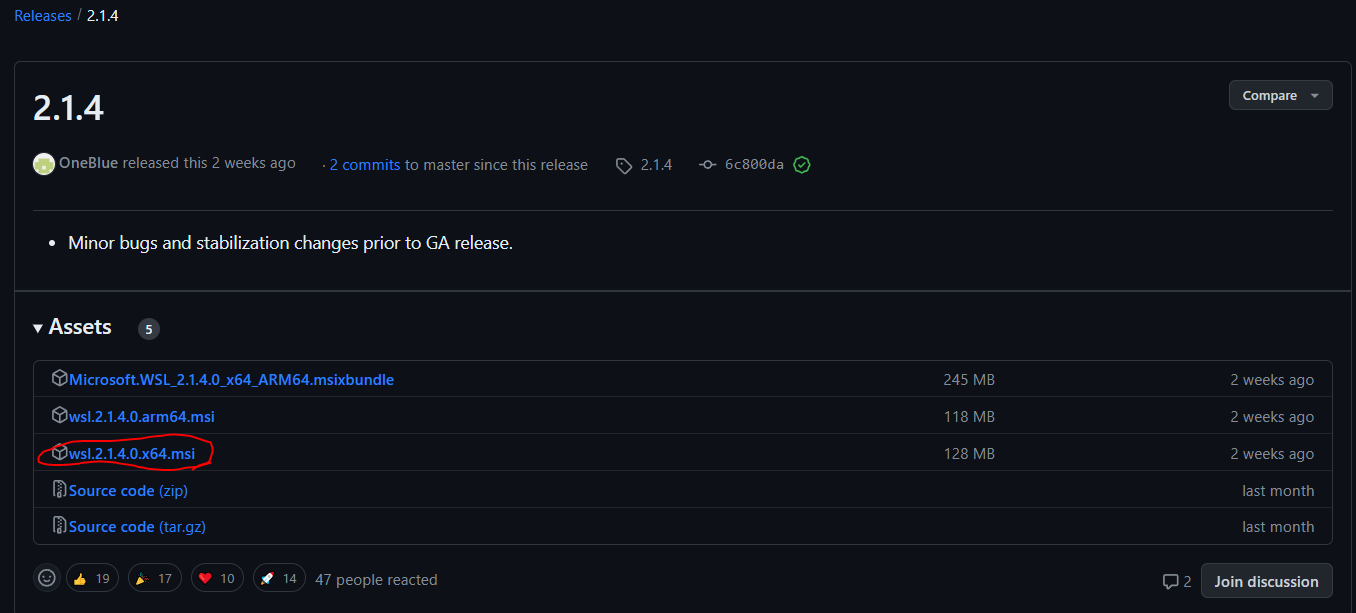
1. Download And Install WSL 2.1.4: Github-Microsoft-WSL
Therefore, after enabling this Windows feature, manual reinstallation is necessary!

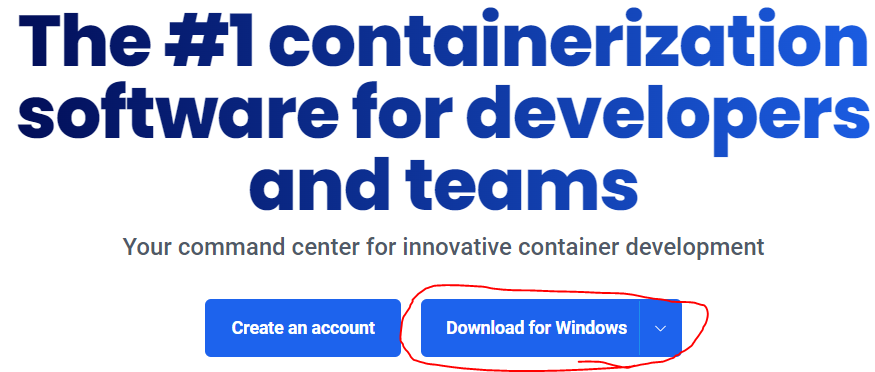
2. Download And Install Docker Desktop
When installing, just check all options
After installation is complete, please do not open it !!
Step 3: Setting WSL Version to 2
# CMD
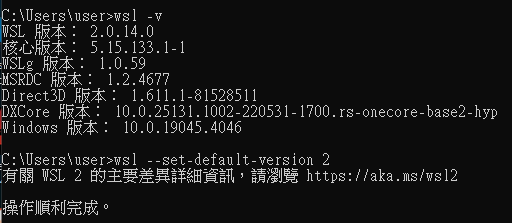
1. Check WSL Version
wsl -v
2. Setting WSL Version to 2
wsl --set-default-version 2
Step 4: Restart Your PC Again
Just Do It !!
Step 5: Start Docker !!
At this point, Docker will proceed with the construction of the Linux kernel.
As a result, you may observe Docker continuously loading.
To determine if Docker is building the Linux kernel via WSL
Check C:\Users\user\AppData\Local\Docker\wsl
You will see two folders:
--data
--distro

The ext4.vhdx is currently being built by Docker through WSL.

After activation, you can start using it without any further configuration changes.
Step 6: Docker GO !!
we can observe the following:
- Docker is running.
- There is no need to log in to a Docker account or connect to the internet.
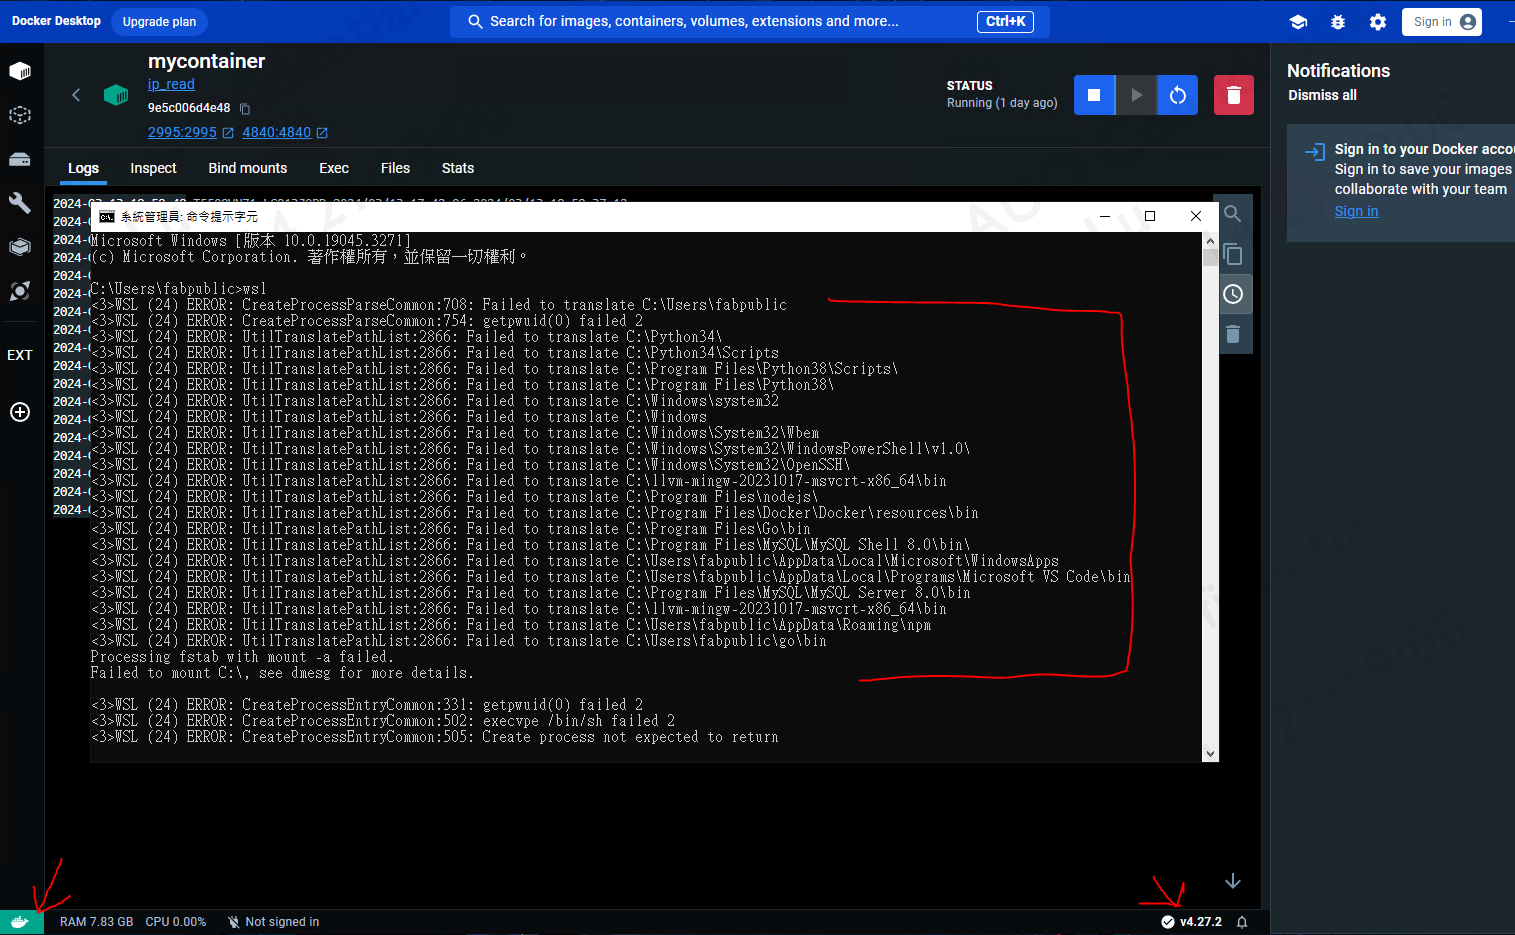
- Through WSL, some missing elements are visible, but they do not affect usage.
- "docker build" can be used offline.
Notice !!
If you have already installed and encountered a failure, please follow the steps below to remove the occupied files.
1. To remove Docker using Add or Remove Programs, Check C:\Program Files\Docker Remove
2. Delete C:\Users\user\AppData\Local\Docker
3. Delete C:\Users\user\AppData\Roaming\Docker
4. Reboot PC
Comments ()