How To Deployment OpenClaw On Linux With Ollama (1)-Build
使用Zimablade 7700 Serv 在Linux 上安裝OpenClaw 並串接Ollama
暫時沒有什麼想說的,直上主題吧!
OAO
Contents
(1)✅Deployment Openclaw
(2)⚠️Deployment Discord API Robot and connect to Discord
(I'm done, but next week, haha)
(3)⚠️...zzz
Deployed System Environment
Hardware: ZimaBlade 7700
Pre-installed OS: CasaOS v0.4.4.3 (Linux)
Memory: 16GB DDR3L (1x SODIIMM Slot)
Openclaw: 2026.3.13 (61d171a)
API Key: Cloud Ollama or Offline Ollama
Node.js ≥ 22
CMake ≥ 3.20
libvips ≥ 8.14
Notice:
❗Do not follow official install step (you must GG)
# Windows PowerShell ❌
curl -fsSL https://openclaw.ai/install.sh | bash
Step 0:
Install Vscode Extension: Remote - SSH
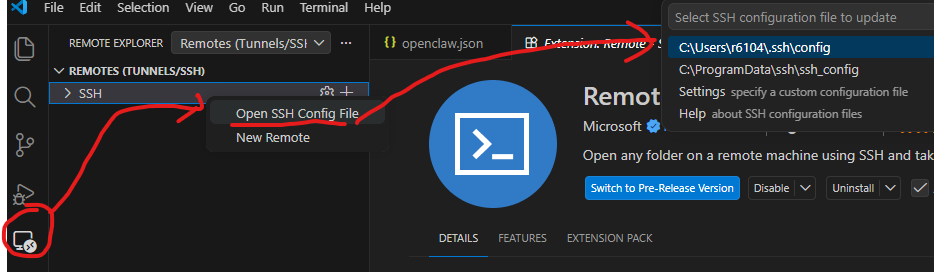
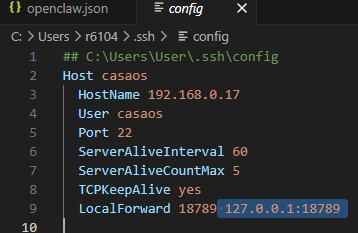
# C:\Users\User\.ssh\config
Host casaos
  HostName 192.168.0.17
  User casaos
  Port 22
  ServerAliveInterval 60
  ServerAliveCountMax 5
  TCPKeepAlive yes
  LocalForward 18789 127.0.0.1:18789
[Your application Web] → localhost:18789
        ↓
   SSH client (on your PC)
        ↓ (encrypted SSH tunnel)
   SSH server (remote host)
        ↓
   127.0.0.1:18789 (service on remote host)
LocalForward makes a remote service accessible on your local machine via an SSH tunnel.
Step 1:
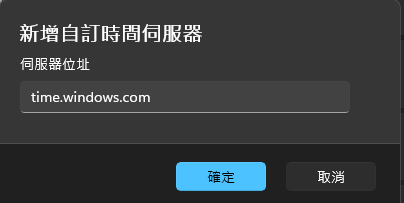
System Pre-installation: NTP SYNC
Windows And Linux NTP Date use: time.windows.com
Forget to setting NTP... you will get disconnected (1008): device signature expired, When you login openclaw tui web.
Linux
# Sync Time With NTP
sudo apt update
sudo apt install ntpdate
sudo ntpdate time.windows.com
sudo apt install systemd-timesyncd
sudo systemctl enable systemd-timesyncd
sudo systemctl start systemd-timesyncd
timedatectl set-ntp true
timedatectl status
sudo timedatectl set-timezone Asia/Taipei
Windows
Step 2:
System Pre-installation:
Install dependencies And Update
# Install dependencies
sudo apt install -y build-essential meson ninja-build pkg-config libglib2.0-dev libexpat1-dev libjpeg-dev libpng-dev libtiff-dev libwebp-dev libgif-dev libxml2-dev

# Install meson ninja
sudo apt install -y meson ninja-build

# Install Node.js with NVN or up to you
curl -o- https://raw.githubusercontent.com/nvm-sh/nvm/v0.40.3/install.sh | bash
\. "$HOME/.nvm/nvm.sh"
nvm install 22
node -v
a. Update Cmake to 4.2.3 or later.
# Update Cmake Latest Release (4.2.3)
wget https://cmake.org/files/v4.2/cmake-4.2.3.tar.gz
tar -zxvf cmake-4.2.3.tar.gz
cd cmake-4.2.3
./bootstrap
make
sudo make install
cmake --version
b. Update vips to 8.18.0 or later.
# Update vips to '8.18.0'
wget https://github.com/libvips/libvips/releases/download/v8.18.0/vips-8.18.0.tar.xz
tar xf vips-8.18.0.tar.xz
cd vips-8.18.0
meson setup build --prefix /my/install/prefix
cd build
meson test
sudo meson install
sudo ldconfig
c. Update node.js sharp to 0.34.5 or later.
# Update sharp to '0.34.5'
npm install -g node-addon-api node-gyp
npm install -g sharp --unsafe-perm --verbose
d. Node.js Global ENV Setting
# ADD NODE_PATH ENV
echo 'export NODE_PATH=$HOME/.npm-global/lib/node_modules' >> ~/.bashrc
source ~/.bashrcs
Step 3:
Start Install OpenClaw
npm i -g openclawThen
# Initial
openclaw onboard --install-daemon
Step 4:
Start Initial
✅ Yes

✅ Onboarding mode: QuickStart

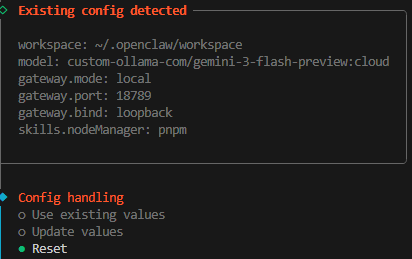
⚠️Reset And Enter (old project will show)
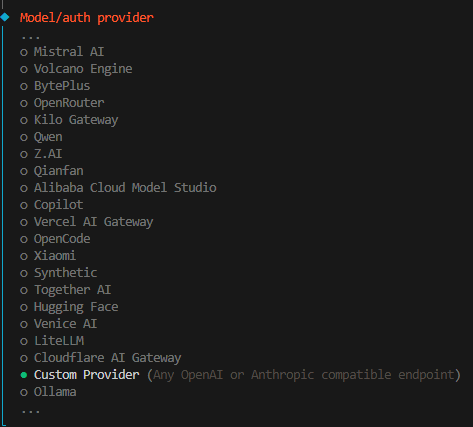
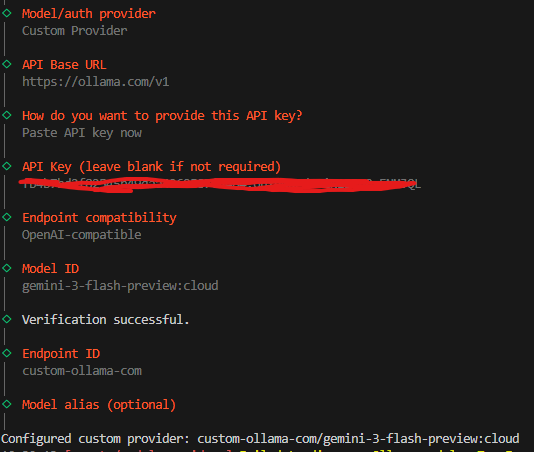
✅Model/auth provider: Custom Provider
(Ollama Don't Choose Ollama!!!) Huh?
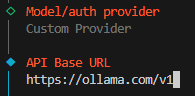
✅API Base URL: https://ollama.com/v1
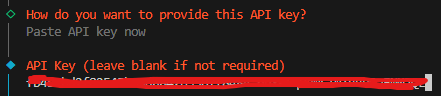
✅Paste API key now
✅then past ollama api key
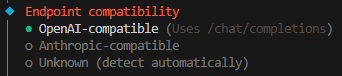
✅Endpoint compatibility: OpenAI-compatible
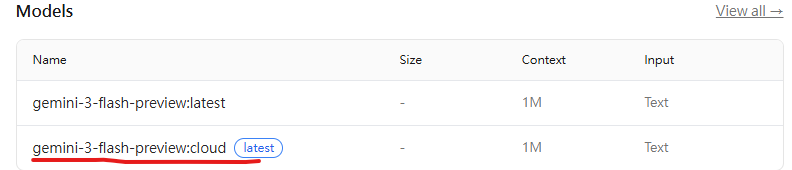
✅Copy Ollama Models name and Paste

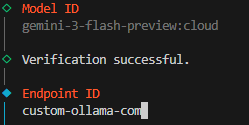
Then Verification successful.
✅Endpoint ID: default
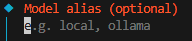
✅Model alias (optional): empty
🚀Full
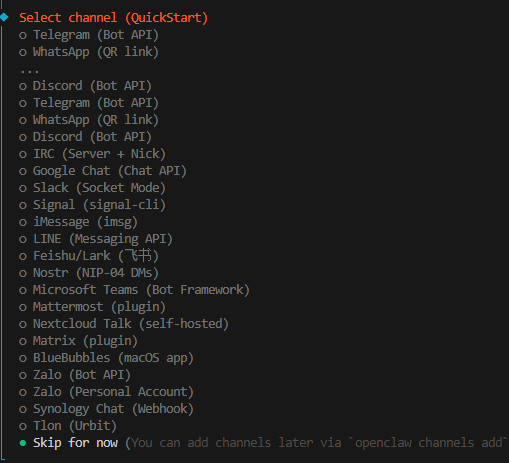
✅Select channel (QuickStart): Skip for now
(If u don't have Discord API KEY)
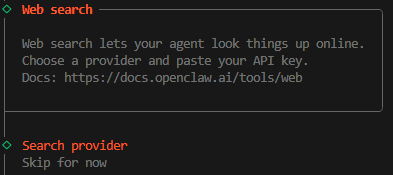
✅Search provider: Skip for now
(If u don't have Search provider API KEY)
✅Configure skills now? (recommended): No

✅ Enable hooks? Choose all
Use Space to Choose, then Enter

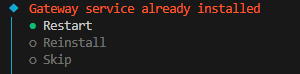
⚠️Gateway service already installed (old project will show)
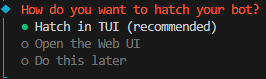
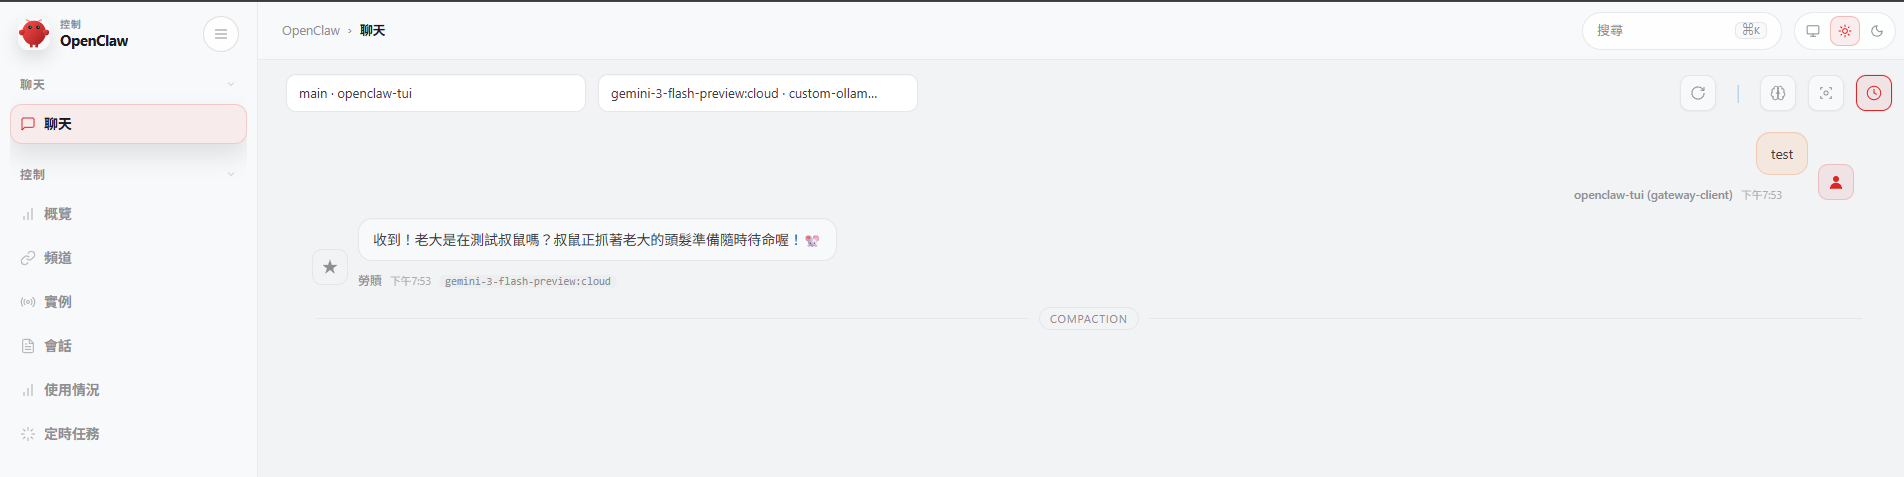
✅How do you want to hatch your bot? Hatch in TUI (recommended)
✅Finally Success, You can type some text

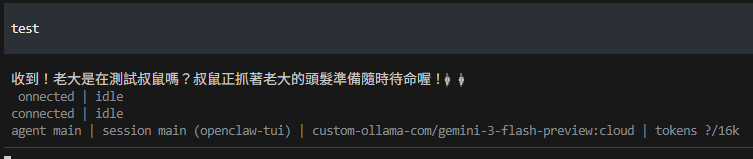
Then Use ctrl+c twice to exit
Step 5:
Regist systemctl to auto start
# regist
systemctl --user stop openclaw-gateway.service
systemctl --user start openclaw-gateway.service
openclaw status
systemctl --user enable openclaw-gateway.service

# if gateway wanna restart
systemctl --user restart openclaw-gateway.service
Step 6:
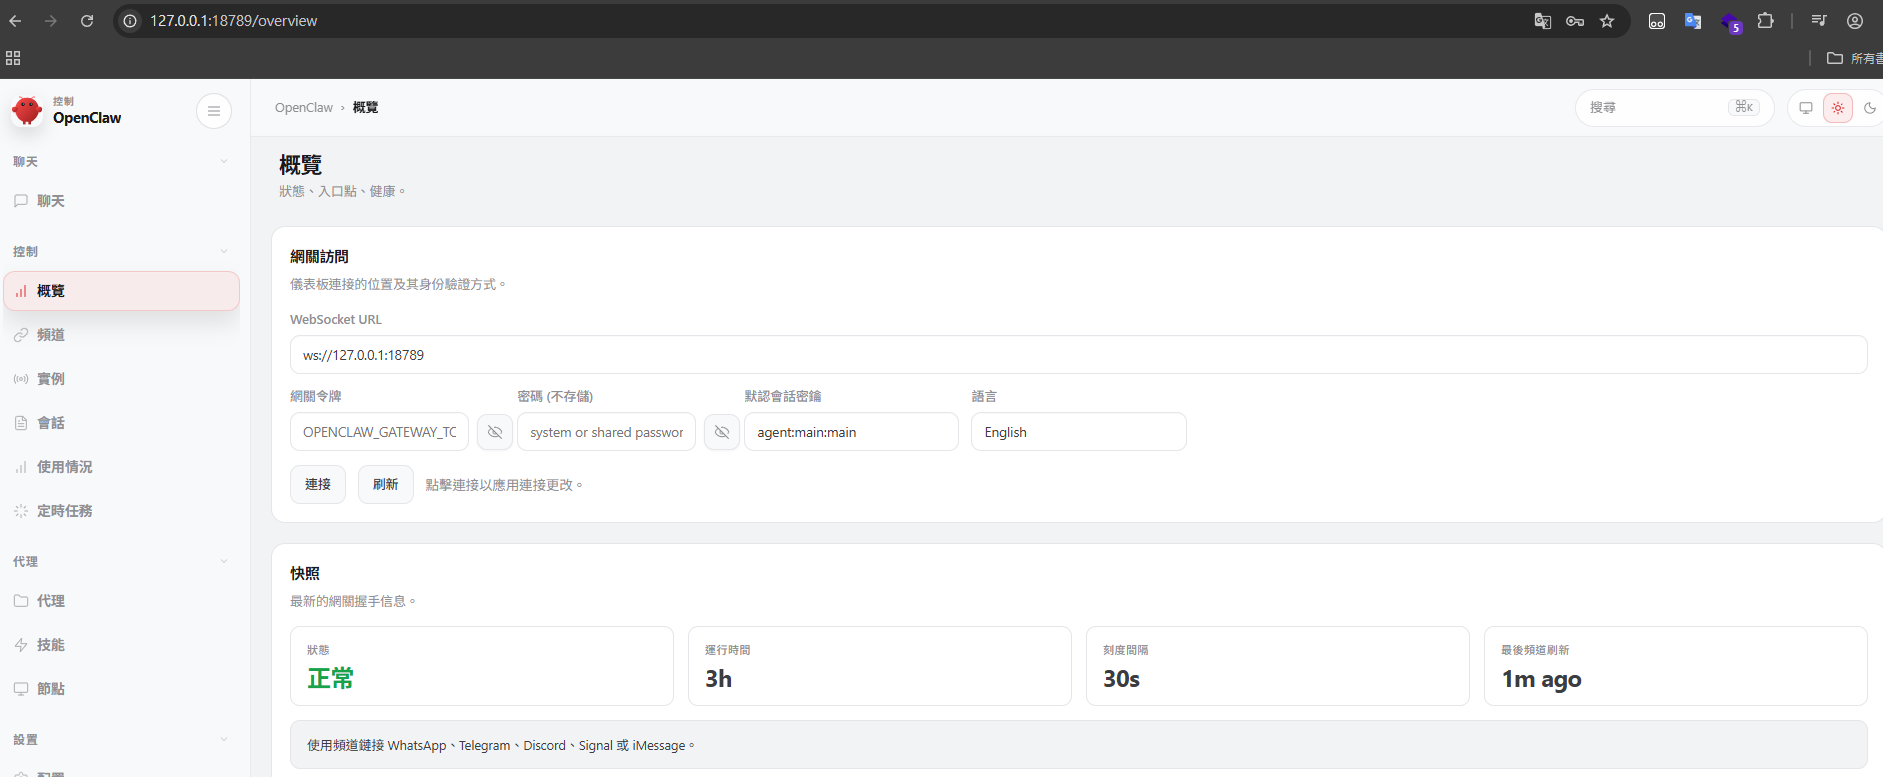
Find openclaw.json to get Toekn and Login Tui Web
# openclaw fold
cd ~/.openclaw/

# home/casaos/.openclaw/openclaw.json
# WEBToken: gateway.auth.token=XXXXX (automatically dispatch)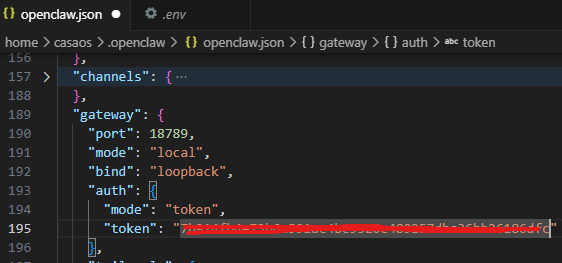
# Start Tui
openclaw tui

# go to http://127.0.0.1:18789
Copy Token Here
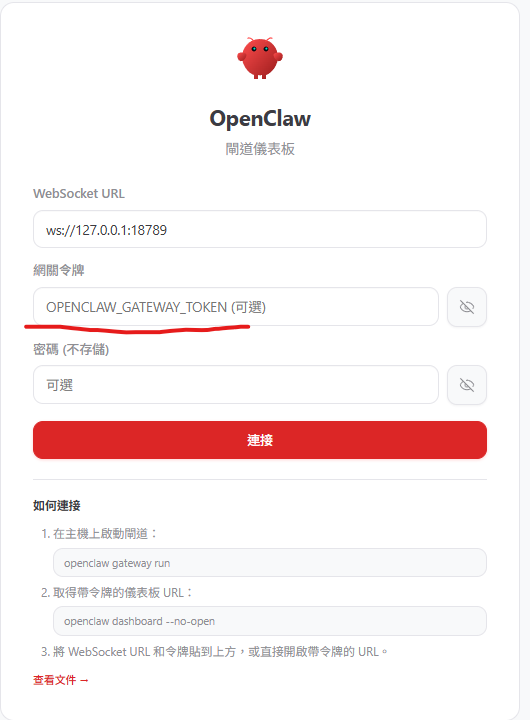
If you use ssh LocalForward(Step.0)
It Will Auto Login
# Kill Tui, but openclaw service still work!!
pkill -f openclaw

# if gateway wanna restart openclaw service
systemctl --user restart openclaw-gateway.service
Enjoy


Comments ()